Illustrator & Photoshop CS5 Review
Did you know that Adobe Photoshop is 20 years old and Illustrator has been around over 24 years? I’ve been using Photoshop since version 5 and Illustrator since version 8. It is amazing to see how they are progressively improving and adding more features. Now with vector features and 3D tools, Photoshop is no longer just an image editing tool. The same goes with Illustrator, Bristle Brushes were added to simulate bitmap drawing. I’ve been using CS5 for several months so in this post, I’m going to share my thoughts on CS5.
Photoshop CS5
Content Aware Fill
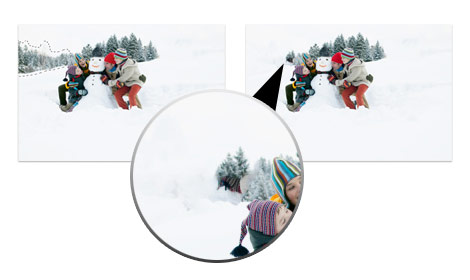
First, let’s talk about the most discussed new feature - Content Aware Fill. It is indeed a new magical tool. It allows you to quickly remove objects in the image. Back then, you would have to do a lot of cloning and brushing. Now with Photoshop CS5, just create a selection of the object that you want to remove, go to Edit > Fill, select Content-Aware, and it will do the magic for you.
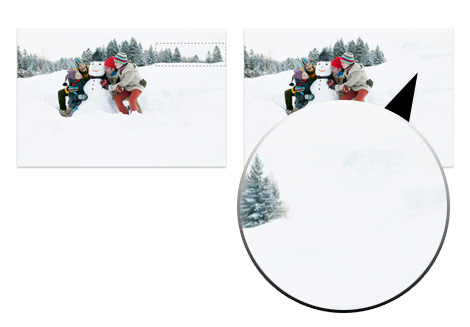
However, the result may vary depending on your source image and how you apply the Content Aware Fill. Because it automatically fill the selection base the content around the selection, it works on certain circumstances but not all. Sometimes you may have to do some manual touchups.
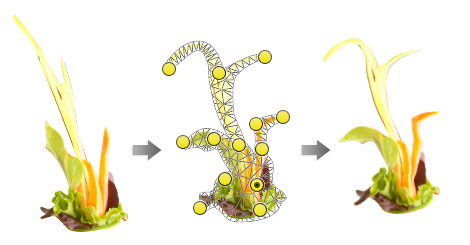
Puppet Warp
I think most of you may probably heard about or seen the Puppet Warp. It works very much like the Warp transform (Edit > Transform > Warp) but even better because it allows you to set points and then warp them. This tool is great for tweaking or straightening objects.
Mixer Brush & Bristle Presets
CS5 introduced a new brush tool called Mixer Brush. Combining the Mixer Brush Tool with the bristle brushes allows you to simulate the effects of real life painting. This tool works even better if you have a drawing tablet.

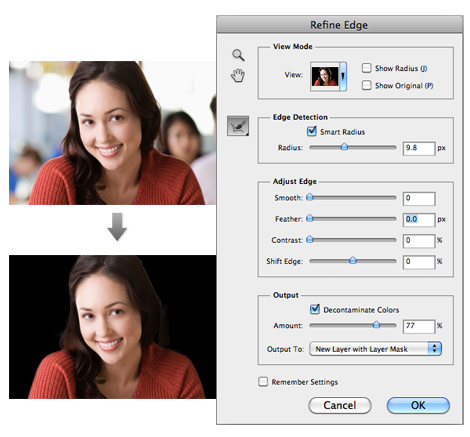
Refine Edge
Refine Edge in CS5 is a big jump from CS4. It has made selecting hair so much easier. You just need to make a selection of the subject and use Refine Edge (go to menu Select > Refine Hair) to handle the tricky selection such as hair. There is an option called Decontaminate Colors which allows you to soften the edge. I tested it on several photos and it works great. Usually it takes me 10-15 minutes to create a perfect hair mask, but with this Refine Edge tool it only takes about a minute.
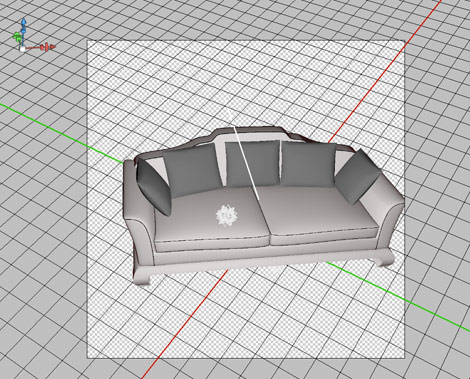
3D Palette
CS5 comes with an enhanced 3D palette where you can edit the render setting such as object and camera rotation without a 3D software. I don’t have any background with 3D editing, but it was fun to mess around with the 3D palette. Go to Archive3D to download sample 3D files. Then open the 3DS file in Photoshop, turn on the 3D palette (Windows > 3D) and have fun with the settings.
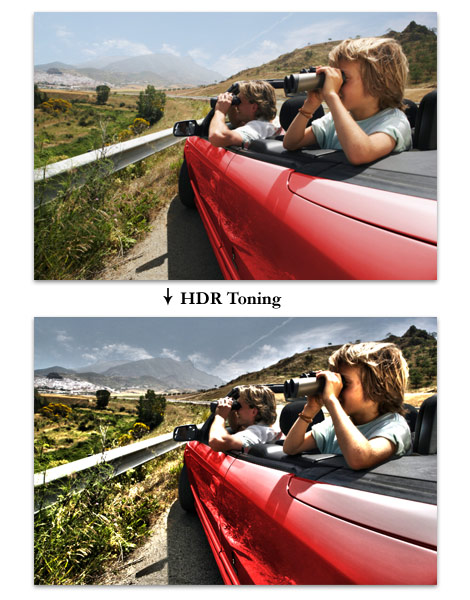
HDR Toning
For those of you who love the HDR (high dynamic range) effect, Photoshop CS5 has a filter for you. Go to Image > Adjustment > HDR Toning, play around with the parameters and you’ve got yourself a HDR looking image. This is a fun tool for amateur photographers like myself.
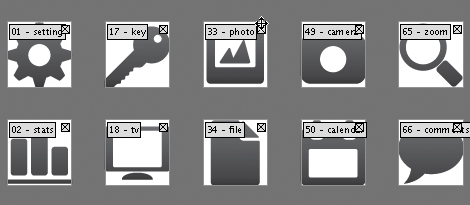
Drag & Drop Files
Most people focus on the new core features but miss out the minor time-saver features such as drag & drop capability. Now you can drag and drop image files directly onto the Photoshop document and it will automatically import them as an individual Smart Object. This saves a lot of time in my workflow because I no longer need to open the files and copy & paste.
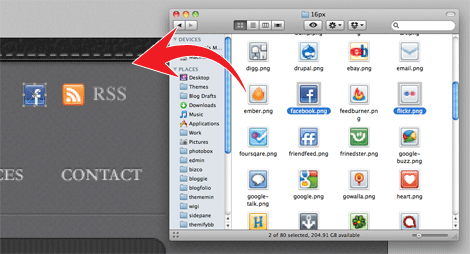
So now I have a preset folder of assets such as icons and stock images for designing WordPress themes.
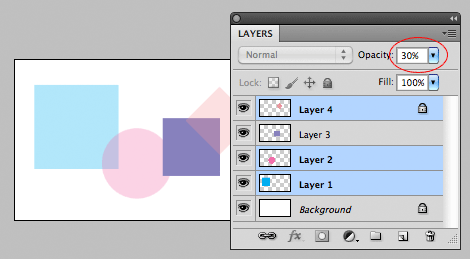
Apply Opacity on Multiple Layers
Another workflow improvement that I like is being able to apply opacity on multiple layers. Just select the layers that you want to change the opacity, press on the number keys to adjust the opacity of the selected layers.
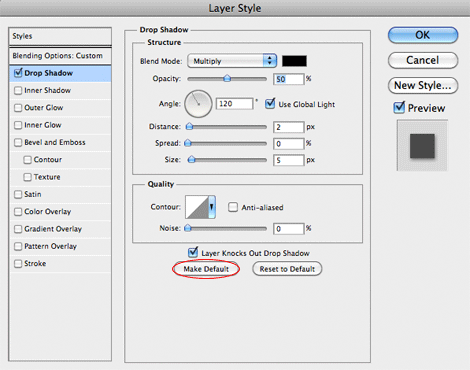
Save Default Layer Style Settings
The last little feature that I would like to mention is the option to set default Layer Style. Now you can assign default setting in the Layer Style palette. This is great time saver for me. I don’t even remember how much time I wasted to change the default drop shadow settings.
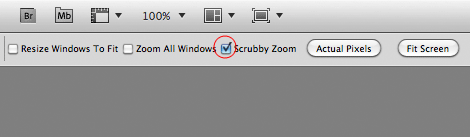
Scrubby Zoom
One thing I hate about CS5 is the Scrubby Zoom, which allows you to use the zoom tool to zoom in or out by dragging left and right. So now you can no longer zoom to specific area by dragging a selection like you used to in the older versions. Luckily you can turn off: select the Zoom tool and uncheck the Scrubby Zoom in the option bar.
Illustrator
Artboards Palette
Illustrator first introduced Multiple Artboards feature in CS4 and the options were very limited. Now you can finally name the artboards in CS5. It also comes with a Artboards palette where you can manage and rearrange the artboards. Being able to name the artboards is a big deal to me. I use Illustrator to design my stock icons. Now I can export my icons (artboards) to different file format without having to rename them.
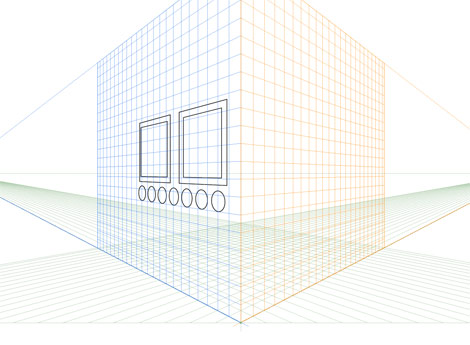
Perspective Grid
I haven’t used the Perspective Grid Tool in any real project yet, but it looks like a cool tool for drawing perspective art such as architect models. It allows you to turn any 2D art into a 3D perspective view and anything that you have inside the grid remains in perspective.
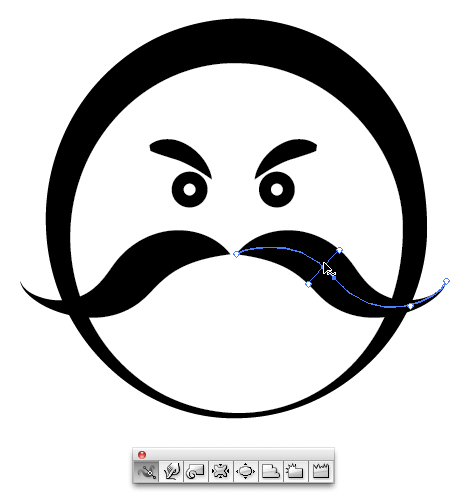
Stroke Width Tool
A new tool that I particularly like is the Width Tool. Back then I had to rely on Art Brush to create comic style stroke. Sometimes the result may not turn out as desire and I have to draw the strokes manually with the Pen tool. With the Width tool, you have full control of how the stroke width should appear.
Drawing Mode
Illustrator CS5 added two new drawing modes: Draw Inside and Draw Behind. Press Shift+D or click on the Drawing Mode icon on the tool bar to toggle between modes. Draw Inside allows you to draw new objects inside the selected object (like a mask) and Draw Behind will draw objects behind. I find Draw Inside extremely useful. Back then you would need to create a Clipping Mask and draw things in the isolation mode.
Pixel Grid
There was bug in CS4 that I’ve noticed: if you set the stroke align inside and turn on pixel preview you will see a pixel offset which cause a blurry stroke. To fix this problem in CS4, I had to set the stroke to .999px instead of 1px. I’m so glad they’ve finally fixed the bug in CS5.
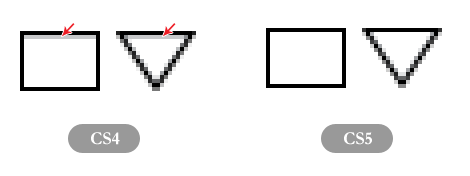
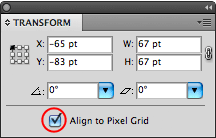
I’m also very happy to see the "Align to pixel grid" option. Now you have option to set objects to align to pixel grid in the Transform palette or when creating a new document. This might seem like a minor feature, but it is extremely useful for creating pixel sharp artwork such as web graphics and icons. They do have "Snap to pixel" option in CS4, but it is only available when you view the document in Pixel Preview mode.
Live Text Mask
Now you can create live text mask. This means you can mask objects with text and the text remains editable. You can either achieve this by either creating a Clipping Mask or using the Draw Inside mode.

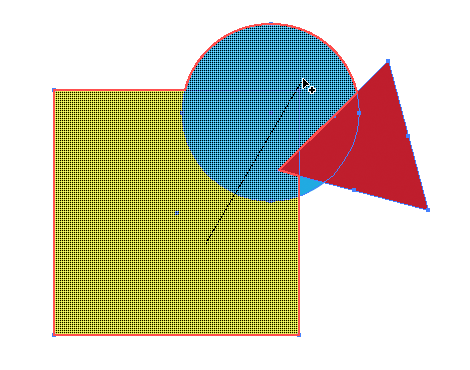
Shape Builder
There is a new Shape Builder tool which I don’t find very useful. Basically it is like the Pathfinders tool where you can merge, divide, or trim shapes with the mouse. Shoot me some tips if you have any great ideas on how to maximize this tool.
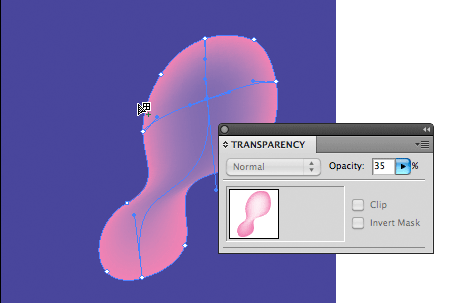
Opacity Mesh Point
CS5 now allows you to set opacity for the Mesh points. This is no doubt extremely useful to anyone who uses the Mesh Tool to create realistic vector art.
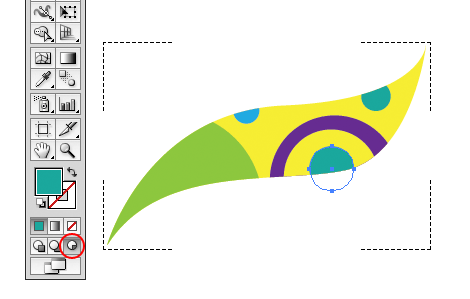
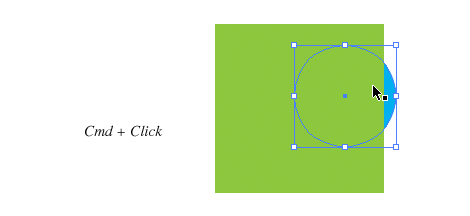
Select Object Behind
While I was playing around in Illustrator, I randomly discovered a shortcut which I think is a neat feature. You can select the object behind by holding the Cmd key while clicking on the object (you will see a tiny arrow on the cursor). This is quite useful if you are dealing with a massive shape artwork.
Bristle Brushes
If you like to do vector painting, you will love the new Bristle Brushes in CS5. The Bristle Brushes allow you to create watercolor-like paint strokes. Experience it yourself: in the Brush palette, create a New Brush, then select the brush shape and play around with the settings.

CS Review
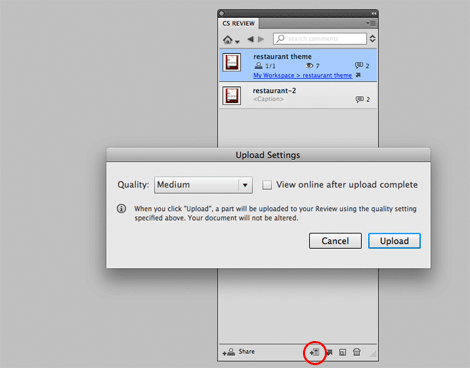
CS5 added a new web service called CS Review where you can upload your work online and share feedbacks. It is great for team collaboration. Project images can be uploaded directly from the document (Photoshop / Illustrator).
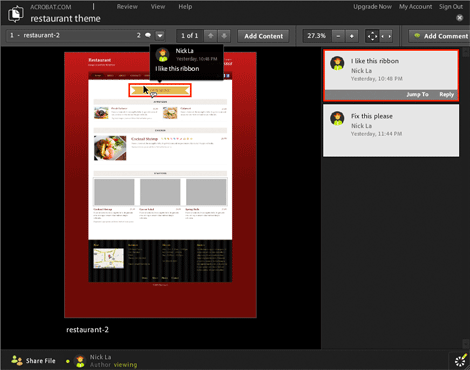
You can grantx users to access your projects. Users can write comments on the work and those comments will appear instantly in the document CS Review palette.
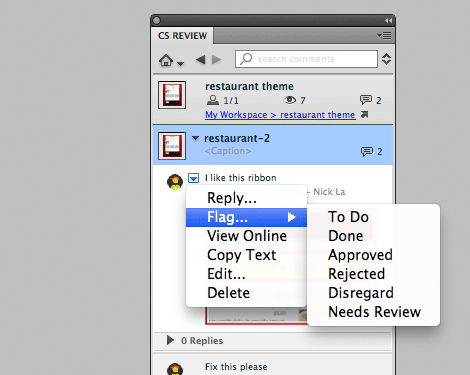
This can also be a great project management tool to collaborate with clients. Clients can write feedbacks on the design and you can flag the comments as: to do, approved, rejected, etc.
Conclusion
Photoshop
Photoshop CS5 new features are focused on the image editing (eg. Content Aware Fill, Refine Edge, Puppet Warp, Bristle Brushes) and 3D compositing. They are great for the image editors. I particularly like the minor features such as drag & drop files in document and being able to apply opacity multiple layers.
Illustrator
I use Illustrator for almost everything from illustrating to designing icons. All those little features such as Artboards palette, align to pixel grid, Width tool, and Draw Inside are my big time savers.
More Resources
There are actually more features than what I just covered. Watch these videos from Adobe TV for more details: